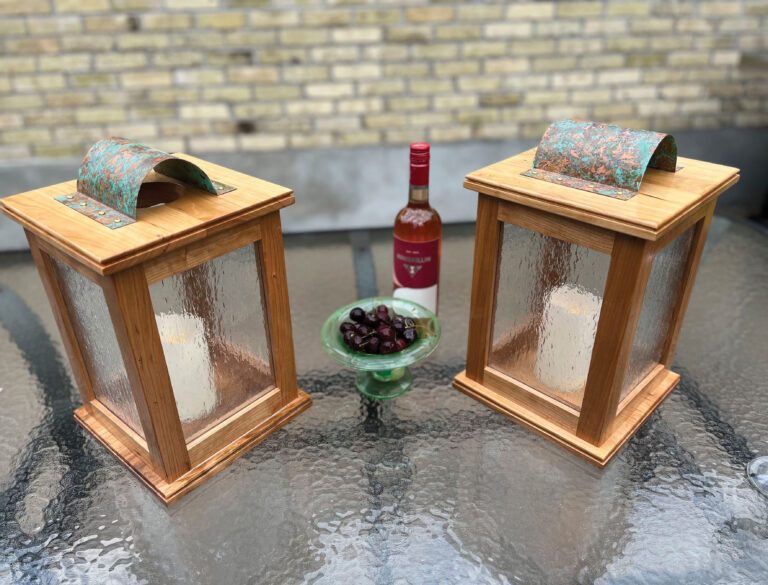
The glow of tradition: build a wood and copper lantern
Few projects combine rustic charm and timeless craftsmanship as beautifully as these wood and copper lanterns.

Featured articles from Canadian Woodworking provide complete, step-by-step instructions for building a wide range of furniture, cabinetry, shop projects, home improvements, and more.
The glow of tradition: build a wood and copper lantern
Few projects combine rustic charm and timeless craftsmanship as beautifully as these wood and copper lanterns.
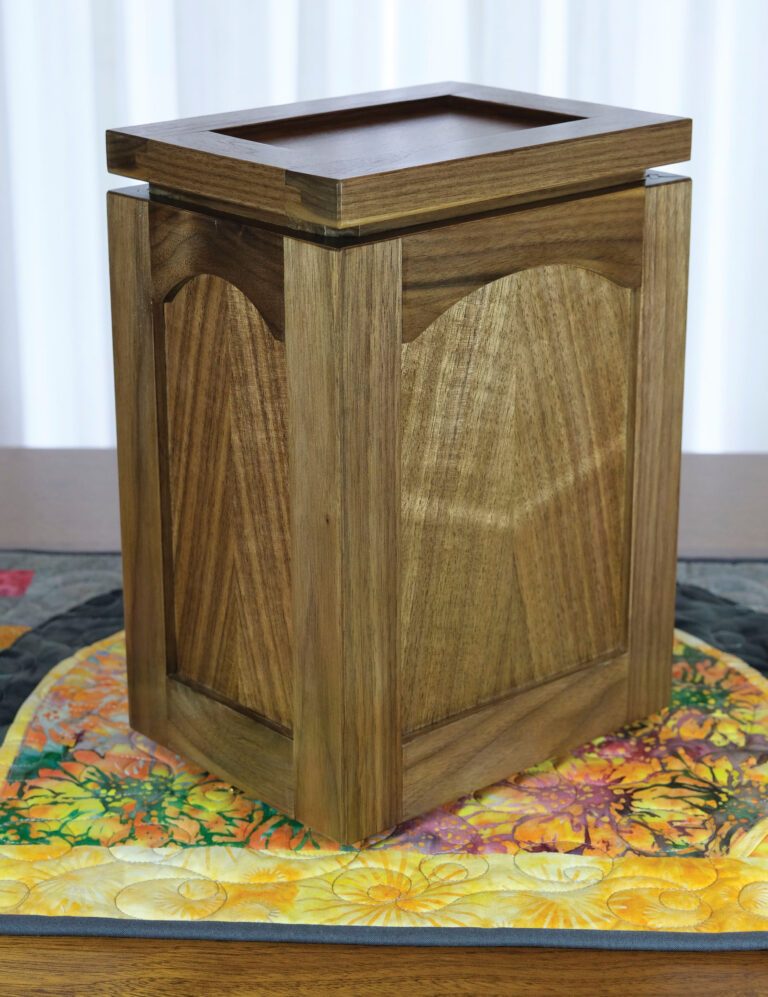
A cremation urn is a special object that speaks to the person whose remains it will contain one day. Making one allows you to customize it to further suit your loved one.

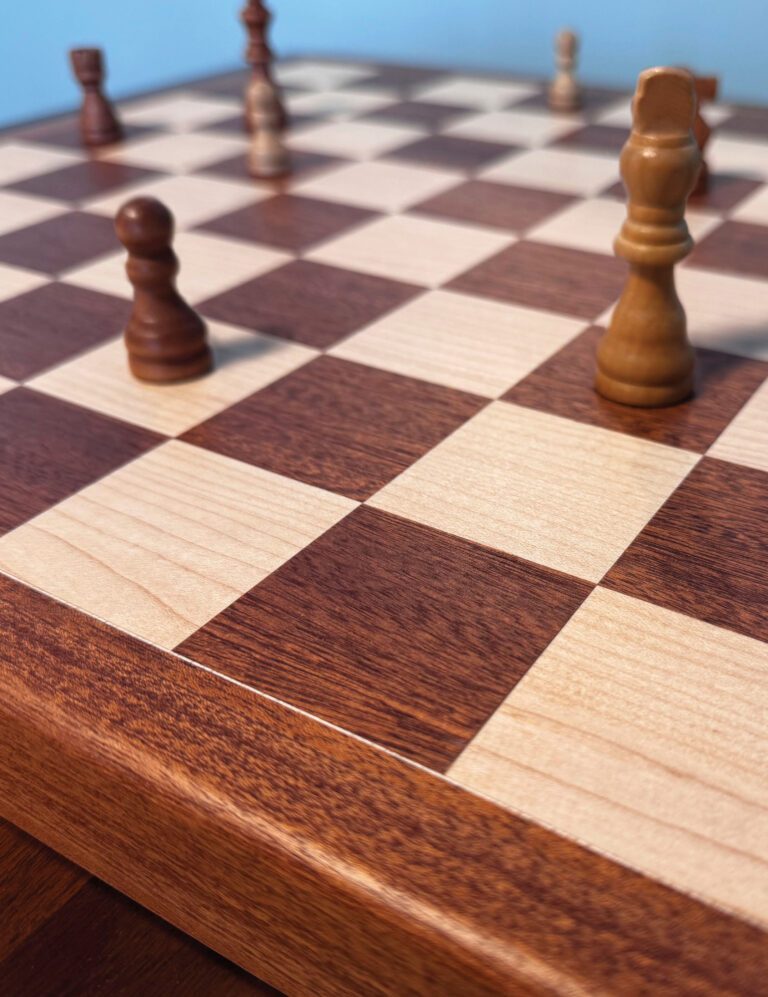
Every woodworker loves a project that looks more difficult to make than it actually is. Impress your friends with this chess board before challenging them to a match.

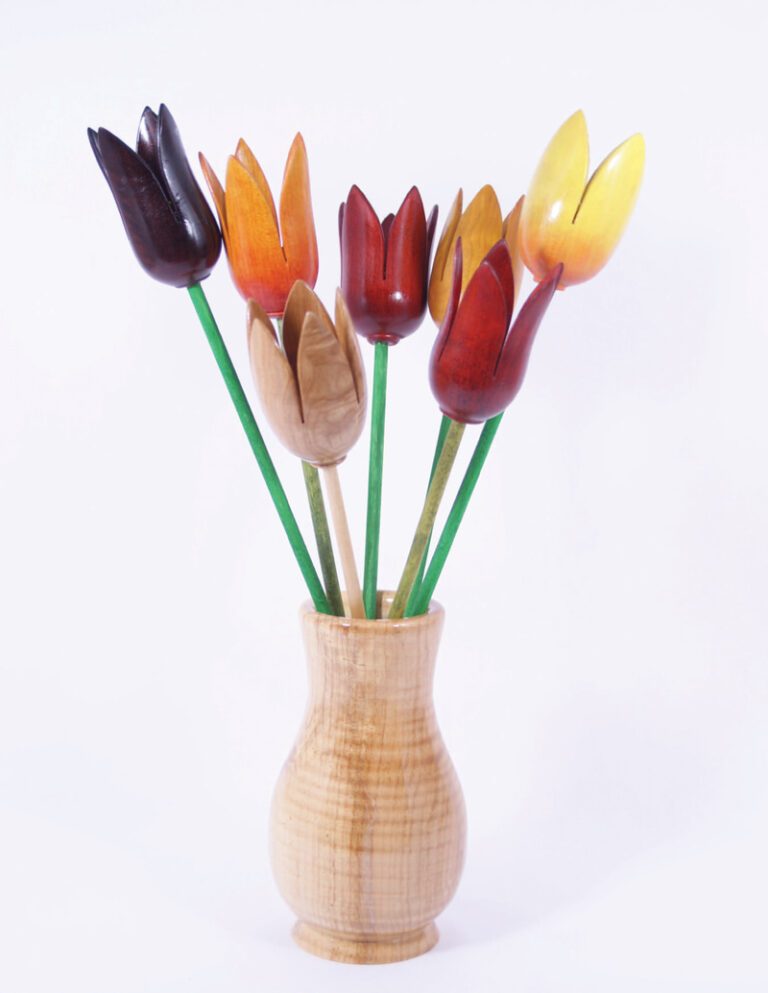
With a few offcuts, a few dollar store dowels, a little colour and some glue you can make a beautiful bouquet of tulips to give to that special someone, and they’ll last forever.


Make a fully adjustable tablet stand
Finally, a tablet stand that isn’t a pain in the neck.

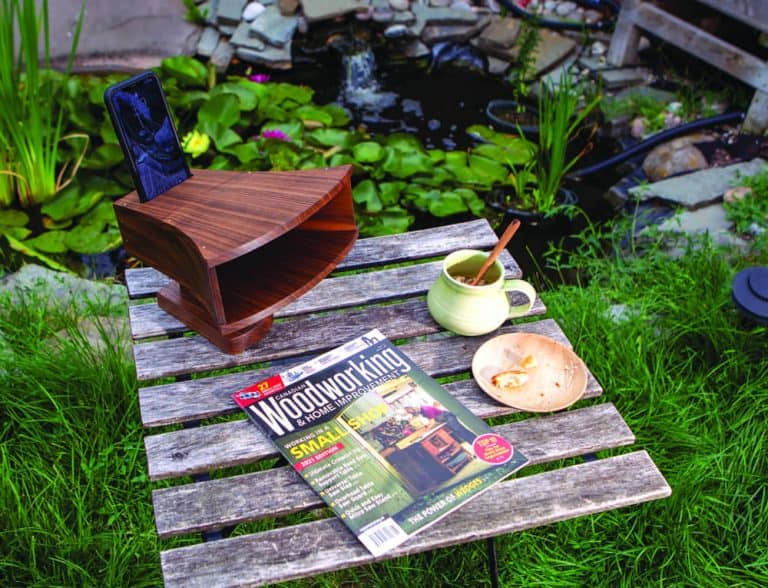
Make a passive smartphone speaker
Amp up your music listening experience by making a sleek speaker for your smartphone.


One of the most daunting woodworking shop tasks is ripping stock or parts on a table saw. Especially when the stuff is small and/or close to the rip fence. This simple jig will calm your mind, give you confidence and allow you to better control the workpiece while making ripping operations.
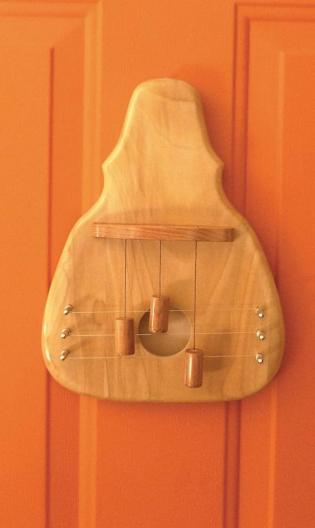
Provide a musical welcome for you and your guests.

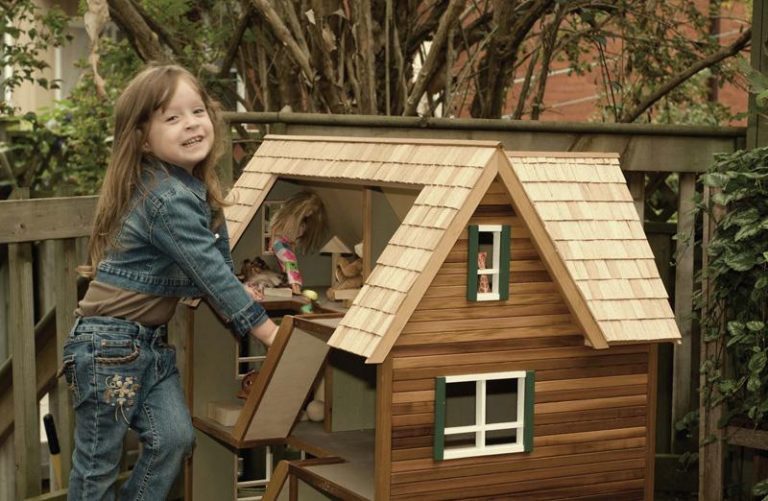
Making a dollhouse is much like building a conventional house – it takes time and patience. While there are a lot of pieces to this challenging project, they are not overly complicated to cut and assemble.


Everybody has something that means a great deal to them, something they would like to display, yet keep safe from harm.
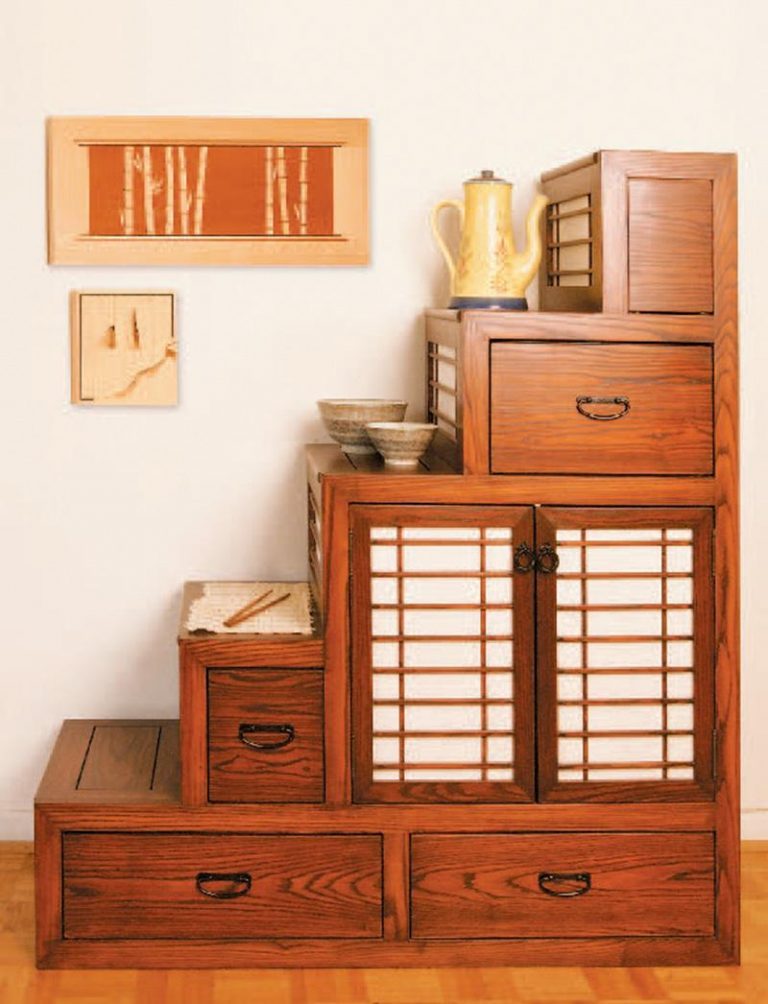
Japanese for 'trunk' or 'chest', tansus ranged from small three step units to larger five and eight step units.